Discover how to build your own solar panel system with our step-by-step guide. Save on energy bills and embrace a sustainable future today!
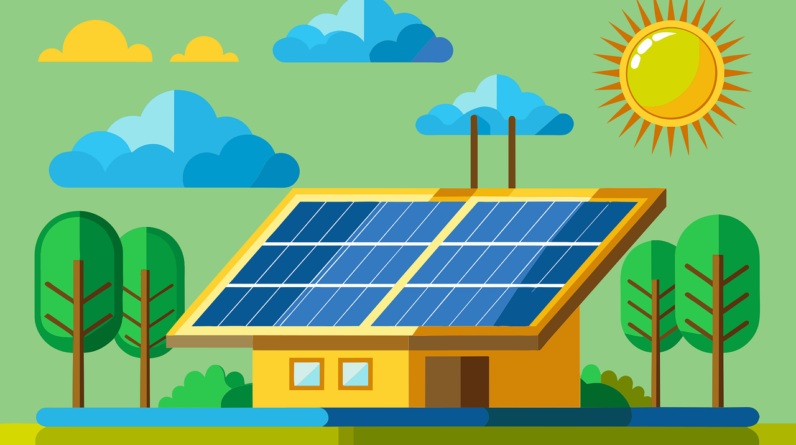
Have you ever thought about harnessing the power of the sun to generate electricity for your home? We certainly have, and it’s an exciting journey that not only helps us reduce our energy bills but also supports a more sustainable future. Building our own solar panel system is a rewarding project that allows us to take control of our energy sources. Let’s walk through a comprehensive, step-by-step guide to help us successfully create our own solar panel system.
Understanding Solar Energy
Before we jump into the building process, it’s essential for us to understand what solar energy is and how it works. In its simplest form, solar energy is power derived from the sun’s rays.
How Do Solar Panels Work?
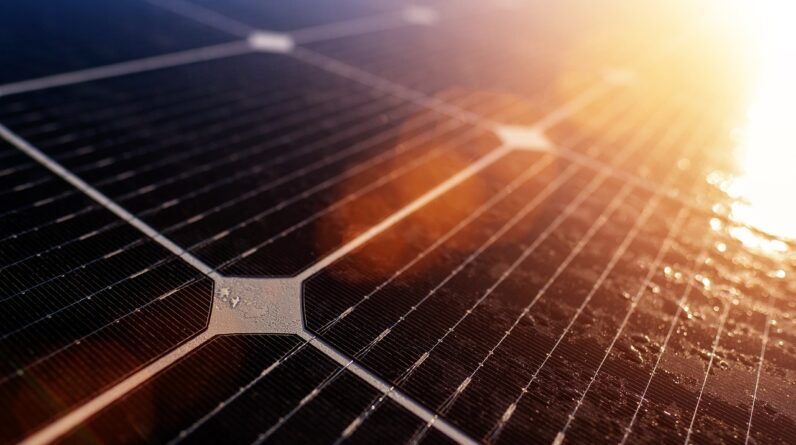
Solar panels convert sunlight into electricity through a process called the photovoltaic effect. When sunlight hits the solar panels, it energizes the electrons in the cells, creating an electric current. This electricity can then be used immediately, stored in batteries, or sent back to the electrical grid.
Types of Solar Panels
Solar panels generally come in three types:
- Monocrystalline Solar Panels: Made from a single crystal structure, these panels are efficient and space-saving, but typically come at a higher cost.
- Polycrystalline Solar Panels: Made from multiple crystal structures, they are less efficient but also less expensive, making them a popular choice for many homeowners.
- Thin-Film Solar Panels: These panels are lightweight and flexible, enabling easy installation but generally have lower efficiency compared to crystalline panels.
Understanding these options will help us choose the best fit for our needs.
Planning Our Solar Panel System
Once we have a grasp on solar energy, we can begin planning our solar panel system.
Evaluating Energy Needs
The first step is to evaluate our energy needs. We can start by looking at our electricity bills for the past year to determine our average monthly usage in kilowatt-hours (kWh).
| Month | kWh Used |
|---|---|
| January | 900 |
| February | 800 |
| March | 850 |
| April | 750 |
| May | 600 |
| June | 700 |
| July | 950 |
| August | 900 |
| September | 850 |
| October | 800 |
| November | 850 |
| December | 900 |
| Total | 10,650 |
From this table, we see that our average monthly usage is about 887.5 kWh. We should aim to build a system that generates at least this amount.
Determining Solar Panel Output
Next, we need to assess how many solar panels we’ll require to meet our energy needs. We can estimate this based on the average output of solar panels, which typically ranges from 250W to 400W per panel.
Let’s assume we choose panels that output 300W:
- Calculate our daily energy needs:
- 887.5 kWh / 30 days = 29.58 kWh/day.
- Convert this to watts:
- 29.58 kWh/day * 1000 = 29,580 watts.
- Considering peak sunlight hours (let’s say 5 hours per day on average):
- 29,580 watts / 5 hours = 5,916 watts.
- Divide by panel wattage:
- 5,916 watts / 300 watts per panel ≈ 19.72 panels.
Thus, we’ll need approximately 20 solar panels.
Researching Local Regulations and Incentives
Before we start constructing, it’s crucial to research local regulations, permits, and available incentives for solar installation. Many places offer tax credits, rebates, or financing options for solar panel installations.
Building Permits
We may need to apply for building permits depending on our location. This typically involves submitting plans to our local government to show how our solar energy system will be installed.
Incentives
As we research, let’s look for any state or federal incentives designed to encourage solar energy use. Websites like the Database of State Incentives for Renewables & Efficiency (DSIRE) can provide valuable information.
Designing Our Solar Panel System
Now that we understand our energy needs and regulations, we can move on to designing our solar panel system.
Selecting the Right Components
A solar panel system consists of several key components:
- Solar Panels: As discussed, we’ll select the type of panels that suit our budget and energy needs.
- Inverter: This device converts the direct current (DC) generated by the panels into alternating current (AC) that our home appliances use.
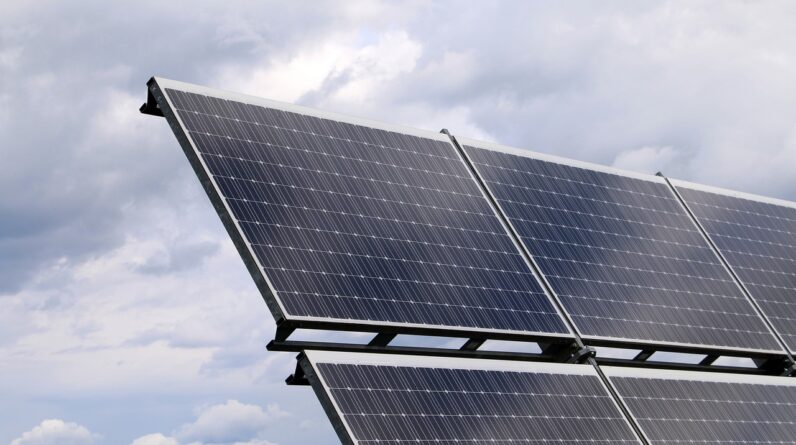
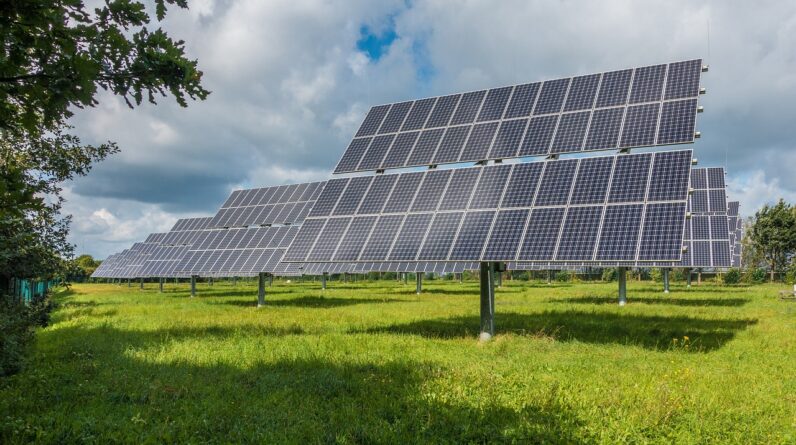
- Mounting System: A crucial part that secures our panels on the roof or ground.
- Batteries (Optional): If we want to store energy for use during cloudy days or at night, we can integrate batteries into our system.
- Charge Controller: This regulates battery charging to prevent overcharging and maintain battery health.
Creating a Layout
Let’s sketch a layout of our solar panel system, taking into account the roof space or ground area we plan to use. We need to ensure that:
- There is no shading from trees or buildings.
- The panels are oriented for maximum sun exposure, typically facing south in the northern hemisphere.
Gathering Materials and Tools
With our design in place, the next step is to gather all necessary materials and tools for the installation.
List of Materials
Here’s a table outlining the essential components we’ll need:
| Component | Quantity |
|---|---|
| Solar Panels | 20 |
| Inverter | 1 |
| Mounting Brackets | As required |
| Batteries (if using) | As required |
| Charge Controller (if using batteries) | 1 |
| Wiring | Various lengths based on layout |
| Fuses and Circuit Breakers | As needed |
Required Tools
We’ll also need some tools to help with the installation:
- Drill
- Wrenches
- Screwdrivers
- Wire cutters/strippers
- Multimeter
Installing the Solar Panel System
Now comes the exciting part—installing our solar panel system!
Safety First
Before we start, it’s important to prioritize safety. We should wear appropriate personal protective equipment (PPE), such as gloves and safety glasses. If we’re working on the roof, harnesses may be necessary if we’re at a significant height.
Step 1: Install the Mounting System
- Choose Location: Based on our layout, we’ll determine where to mount our panels.
- Mark Drill Points: We should then mark the locations where we’ll attach the mounting brackets.
- Install Brackets: Using a drill, secure the mounting brackets according to the manufacturer’s specifications.
Step 2: Attach Solar Panels
- Align Panels: Carefully lift our solar panels onto the mounted brackets.
- Secure Panels: Using bolts and screws, attach the panels to the mounting system.
Step 3: Connect the Wiring
- Ground the System: If necessary, we’ll ground the solar panel system by connecting it to a grounding rod.
- Wire Panels Together: Connect the solar panels in series or parallel, depending on our system design.
- Connect Inverter: Run the wiring from the solar panels to the inverter, ensuring solid connections to avoid voltage loss.
Step 4: Install the Inverter
- Choose Inverter Location: We should put the inverter in a cool, dry place close to our main electrical panel.
- Mounting the Inverter: Securely fasten the inverter according to the manufacturer’s suggestions.
- Connect to Grid or Batteries: Depending on our configuration, connect the inverter to the electric grid or our battery system.
Step 5: Connect the Charge Controller (if using batteries)
- Install Charge Controller: Mount the charge controller near our batteries, if applicable.
- Wire Batteries to Controller: Follow the manufacturer’s wiring diagram to connect the batteries to the charge controller correctly.
Step 6: Inspect the System
Before we connect the system to the grid, it’s important to double-check:
- All connections are secure.
- There are no exposed wires.
- The inverter and charge controller are installed correctly.
Testing the Solar Panel System
With everything connected, we can begin testing our solar panel system.
Step 1: Turn on the Inverter
Once the inverter is powered on, it should start to convert the solar energy into usable electricity.
Step 2: Measure Voltage and Current
Using a multimeter, we can measure the voltage and current output from the panels and ensure everything is functioning correctly.
Step 3: Monitor Performance
For a couple of days following installation, monitor the system to ensure it’s generating the expected output. This is a good time to check for any potential issues, such as underperformance or connection problems.
Maintenance and Troubleshooting
To maximize our solar panel system’s lifespan and performance, regular maintenance is essential.
Routine Maintenance
- Cleaning Panels: Dust, debris, or snow can accumulate on our panels. Depending on our environment, a gentle wash with water may be necessary to maintain optimal efficiency.
- Inspecting Connections: Periodically checking for any loose or corroded connections can prevent issues down the line.
Troubleshooting Common Issues
Should we encounter problems, here are common issues and potential fixes:
| Issue | Cause | Solution |
|---|---|---|
| Low Power Output | Dirty panels | Clean the panels |
| Flickering lights | Loose wiring | Tighten connections |
| Inverter not working | Power disconnect | Reset inverter |
| Batteries not charging | Faulty charge controller | Replace charge controller |
Enjoying the Benefits of Solar Power
Once our system is up and running, we can bask in the numerous benefits of using solar energy!
Environmental Impact
Using solar energy means we’re contributing to reducing carbon emissions. By moving towards clean, renewable energy, we’re doing our part to combat climate change.
Financial Savings
The reduction in our electricity bills gives us more room in our budget to allocate towards other important expenses or possibly to save for a family vacation!
Energy Independence
Having our own solar panel system makes us less reliant on the grid. In the event of a power outage, especially if we’ve incorporated battery storage, we may have access to power when others do not.
Conclusion
In conclusion, building our own solar panel system is both a practical and rewarding endeavor. We’ve covered everything from understanding solar energy, evaluating our power needs, and navigating the installation process to enjoying the continued benefits of a sustainable energy source. By taking the plunge into solar energy, we’re not just investing in our home; we’re investing in a healthier planet for future generations. So, are we ready to embrace the sun and embark on this exciting journey together?


