Discover the advantages of DIY solar generators! Learn how to create your own energy source and embrace sustainability in this comprehensive guide.
What if we could harness the power of the sun to create our own energy? Imagine being able to generate electricity without relying on traditional power sources. That’s the beauty of DIY solar generators. In this guide, we’ll take a closer look at what DIY solar generators are, their benefits, and how we can create our own.
What are DIY Solar Generators?
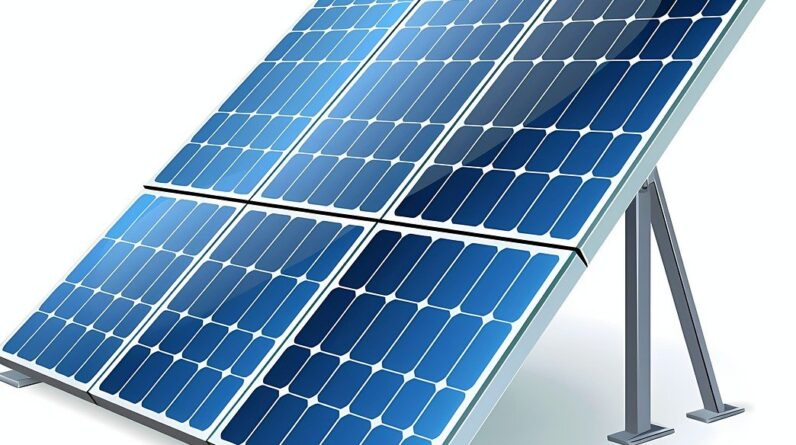
DIY solar generators are portable energy solutions that allow us to convert sunlight into usable electricity. They typically consist of solar panels, batteries, an inverter, and a charge controller. By assembling these components ourselves, we can create a system that meets our specific energy needs.
Components of a DIY Solar Generator
Understanding the basic components of a solar generator can help us appreciate how they work. Each part has a unique function, and together they create a complete, functional system.
| Component | Function |
|---|---|
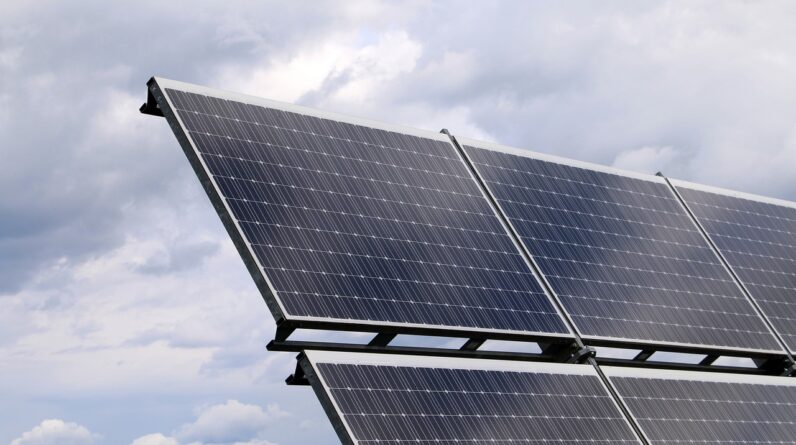
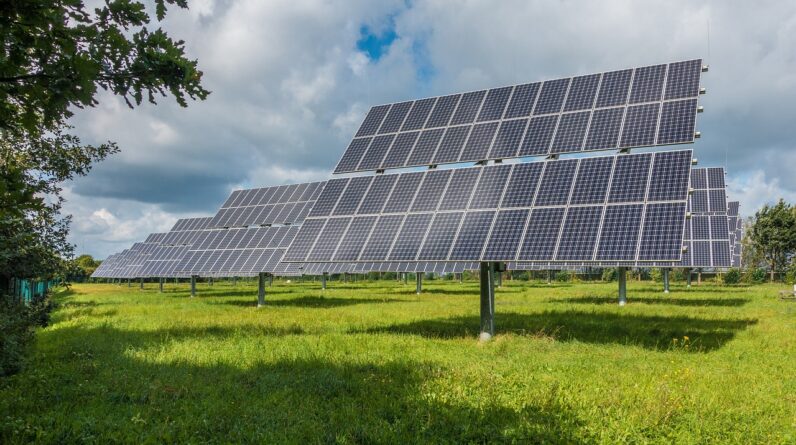
| Solar Panels | Convert sunlight into electricity |
| Batteries | Store energy for later use |
| Inverter | Converts DC electricity to AC electricity for appliances |
| Charge Controller | Regulates the flow of electricity to prevent overcharging and damage |
Each of these components plays a vital role in making our DIY solar generator efficient and effective.
The Benefits of DIY Solar Generators
Creating our own solar generator can come with numerous advantages that go beyond just saving money. Here are some compelling benefits we should consider.
Eco-Friendly Energy Source
First and foremost, solar energy is a clean and renewable source of energy. By generating our own electricity through solar panels, we significantly reduce our carbon footprint. This is especially rewarding when we think about the impact our energy choices have on the environment.
Cost Savings
One of the most attractive benefits of DIY solar generators is the potential for significant cost savings. While the initial investment might seem high, over time, we can save on our electricity bills. Additionally, by building our generator, we save on installation costs typically associated with hiring professionals.
Energy Independence
Having our own solar generator provides unmatched energy independence. In emergencies or power outages, we can rely on our generator to keep essential appliances running. This autonomy can provide peace of mind, knowing we are not totally reliant on the grid.
Portability
DIY solar generators are often designed to be portable, giving us the flexibility to use them wherever we go. Whether we’re camping, tailgating, or just spending a day at the beach, having a solar generator can make our outdoor experience more enjoyable. We can power devices such as phones, lights, and small appliances without the hassle of finding an outlet.
Customizability
When we build our own solar generator, we have complete control over its design. We can select components based on our specific needs and lifestyle. This level of customization means we can create a generator that perfectly fits our energy consumption patterns.

How to Build a DIY Solar Generator
Building a DIY solar generator might sound daunting, but with the right guidance and resources, it can be an enjoyable and rewarding project. Let’s break it down into manageable steps.
Step 1: Determine Our Power Needs
Before we start building, we need to assess our energy needs. Consider what devices we want to power and how much energy they require. This will help us select the appropriate components for our generator.
Example of Power Needs Calculation
| Device | Wattage | Usage per Day (hours) | Daily Energy (Watt-hours) |
|---|---|---|---|
| Phone Charger | 10 W | 2 | 20 W |
| LED Light | 12 W | 5 | 60 W |
| Small Fan | 25 W | 3 | 75 W |
| Total | 155 W |
In this example, our total daily energy requirement is 155 watt-hours. We can use this information to guide our selections in the following steps.
Step 2: Choose the Right Components
Based on our power needs, we can now choose the components for our solar generator. Here’s a breakdown of the options we have:
Solar Panels
When selecting solar panels, we should consider both size and wattage. For the example above, we may choose one or two 100-watt solar panels, depending on our available space and budget.
Batteries
Next, we need to select batteries to store our energy. Deep-cycle lead-acid batteries or Lithium-ion batteries are popular choices. If we plan to power our devices for a day, we should ensure our battery capacity is sufficient.
Inverter
Our inverter will convert the electricity generated by the solar panels into a form suitable for our appliances. For our needs, a 300-400 watt inverter should suffice, providing us with the necessary power to run our devices.
Charge Controller
A charge controller is essential to ensure our batteries are charged properly and protected from overcharging. MPPT (Maximum Power Point Tracking) charge controllers are more efficient but may be costlier than PWM (Pulse Width Modulation) controllers.
Step 3: Gather Tools and Materials
Once we’ve selected our components, we should gather the necessary tools and materials to assemble our solar generator. Typically, we’ll need:
- Basic hand tools (screwdriver, wrench, etc.)
- Wiring and connectors
- Mounting hardware
- A suitable enclosure to house our generator
Step 4: Assemble the Components
Now comes the fun part—putting everything together!
- Connect the Solar Panels: Start by mounting the solar panels. Ensure they are positioned for maximum sunlight exposure.
- Wire the Panels to the Charge Controller: Use appropriate gauge wire to connect the solar panels to the charge controller.
- Connect the Charge Controller to the Batteries: This connection will allow the batteries to be charged from the solar panels.
- Wire the Inverter: Connect the inverter to the batteries, enabling the conversion of stored energy to AC power.
- Test the System: Before using it with our devices, we should test the entire system to ensure everything is connected properly and functioning as expected.
Step 5: Maintenance and Care
To ensure our solar generator remains functional over time, we should adopt a regular maintenance routine. Here are some tips:
- Clean the Solar Panels: Dirt and debris can reduce efficiency, so regular cleaning is essential.
- Check Connections: Periodically inspect all connections for signs of wear or corrosion.
- Monitor Battery Health: Keep an eye on our battery health to avoid unexpected failures.
Upgrading Our DIY Solar Generator
As our energy needs evolve, we may wish to upgrade our DIY solar generator. There are several ways we can expand or enhance our system:
Adding More Solar Panels
If we find ourselves needing more energy, we can add additional solar panels to our setup. This will increase our power output, allowing us to run more devices or charge our batteries faster.
Upgrading Batteries
Switching to higher-capacity batteries can enhance our system’s performance. For example, upgrading from lead-acid to Lithium-ion batteries not only increases storage capacity but also reduces weight.
Integrating Smart Technology
By incorporating smart technology, we can monitor our solar generator’s performance in real time. Smart plugs and meters can help us track energy consumption, allowing us to optimize battery usage and overall efficiency.

Comparing DIY Solar Generators to Commercial Options
When considering energy solutions, we often wonder how DIY solar generators stack up against commercial products. Let’s take a closer look at the differences.
Cost
DIY solar generators can be much more affordable than ready-made options. By sourcing the components ourselves, we can save on labor costs and often find more budget-friendly options than prepackaged systems.
Customization
Our choices allow us to tailor the system precisely to our needs. In contrast, commercial systems may offer limited options and might not align perfectly with our requirements.
Quality Control
With a DIY approach, we have control over the quality of each component. In some cases, commercially available options may use lower-quality components to save costs.
Learning Experience
Building our generator provides us with valuable knowledge about solar energy. This hands-on experience may not be gained through purchasing a pre-made product.
Potential Challenges of DIY Solar Generators
While there are many rewards to building our own solar generator, there can also be challenges. Some things we should keep in mind include:
Initial Setup
The initial assembly and setup can take time and require a learning curve for those new to electronics. However, this challenge can often be overcome by following detailed instructions and resources.
Maintenance
Regular upkeep is essential for maintaining optimal performance. Some individuals might find this step tedious, especially if they are not particularly handy.
Limited Power Output
DIY solar generators might not offer the same power output as larger, commercial generators. However, with careful planning and component selection, we can design a very effective system that meets our needs.

Conclusion
Harnessing the power of the sun through DIY solar generators can be an empowering journey. By understanding the components, benefits, and steps to build our generator, we are not just creating an energy solution but potentially fostering a deeper appreciation for sustainable living.
Whether it’s for camping trips, everyday use, or emergencies, having a DIY solar generator allows us to embrace energy independence while contributing positively to the environment. So, why not take the leap and start our solar generator project today? The sun is shining, and the possibilities are endless!


